


Upload EEO and DBA Documentation
Learn how to upload Equal Employment Opportunity (EEO) and Doing Business As (DBA) documents in your PASSPort Vendor Profile.
Before we begin
The steps below can be completed by users provisioned with the roles:
- Vendor Admin
- Contributor
- Signatory
Upload EEO Documentation
Equal Employment Opportunity documentation must be submitted in PASSPort in order for a contract to be registered with the Comptroller's Office, regardless of whether or not it is needed based on the contract award.
If EEO documentation is not required for an award, your contracting agency should provide you with written documentation indicating that that EEO form is not required. Vendors can upload and submit that document in PASSPort in lieu of the EEO documentation. The documentation should include what type of contract (supply and service, construction, etc.) and whether the vendor has more or fewer than 50 employees.
If EEO documentation is required for an award, visit Contract Compliance | Small Business Services to determine which document you need to upload. On that page, you will find the forms related to your entity's Division of Labor Services (DLS) compliance.
If you do not have a contract at this time, if none of the forms on the DLS website apply to your organization, or if you are unsure how to complete the form, reach out to your contracting agency for guidance.
-
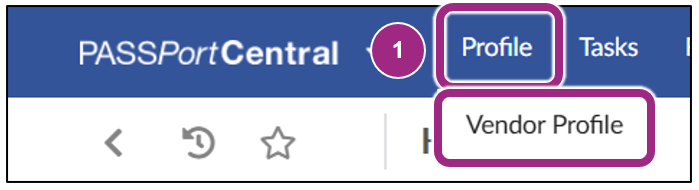
On the PASSPort Homepage, click Profile in the top navigation menu, then click Vendor Profile.
-
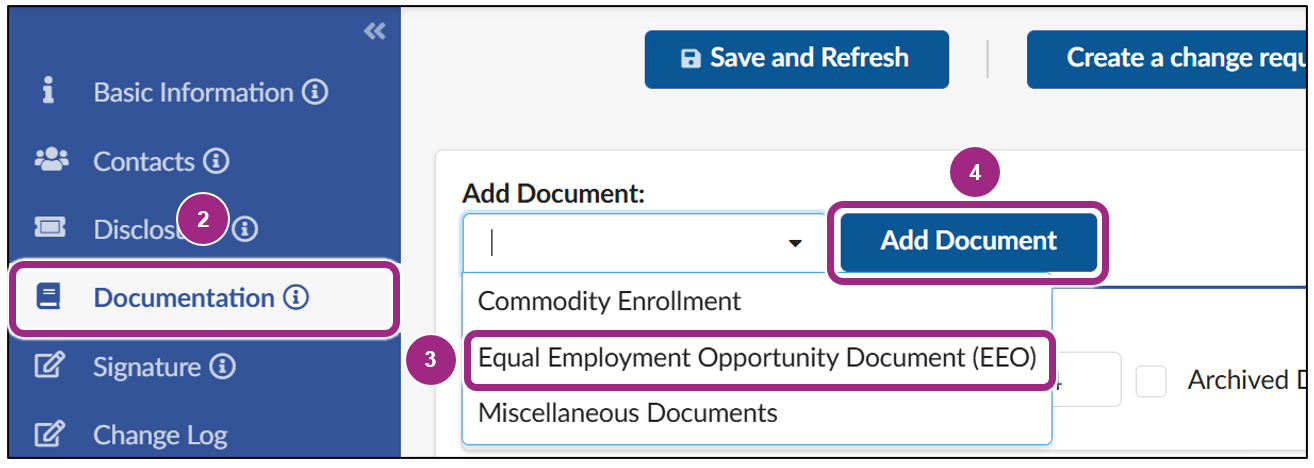
Go to the Documentation tab of your vendor profile.
Here you can enroll in commodities and submit EEO, DBA and COI (Certificate of Incorporation) documentation.
- To add EEO documentation, click the Add Document drop-down field and select Equal Employment Opportunity Document (EEO) from the menu.
-
Click the Add Document button.
The Edit Document window opens.
-
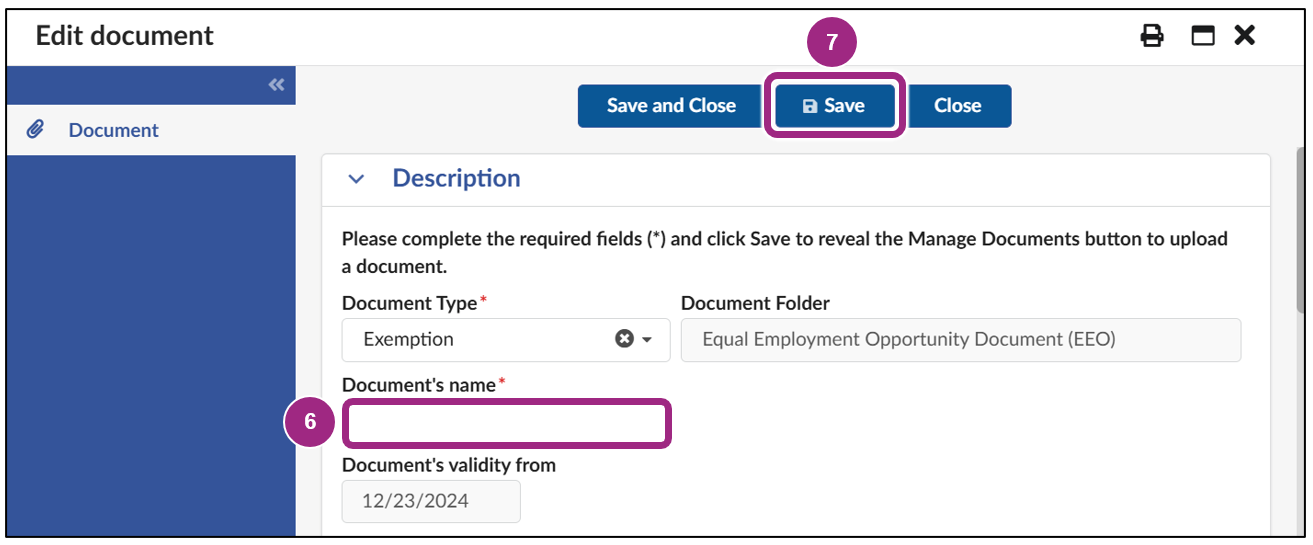
Click the Document Type drop-down field and select one of the following options from the menu:
- DLS Report
- Compliance Letter
- Exemption

- Enter the Document's name.
-
Click the Save button at the top of the window.
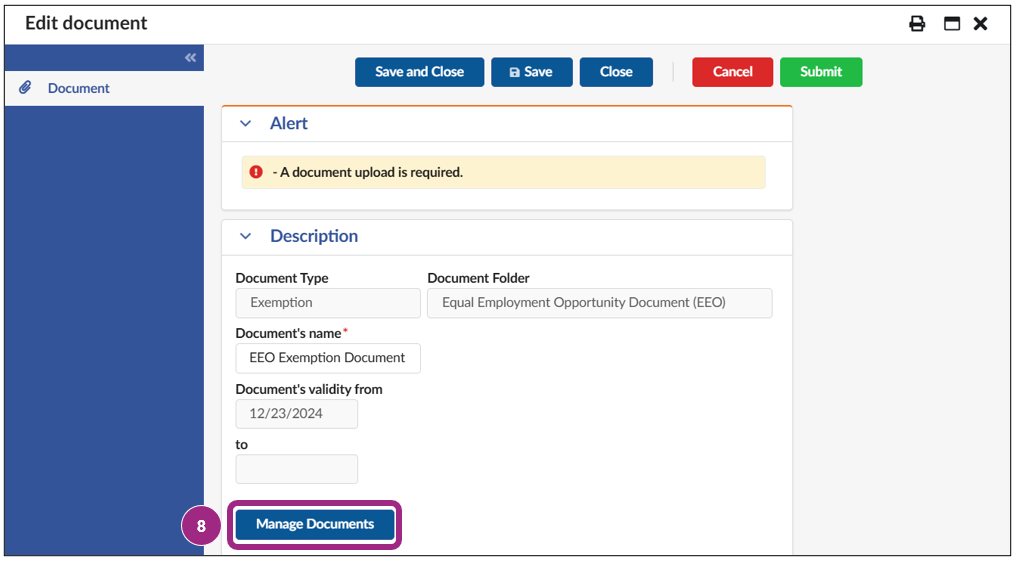
The page refreshes and a red blocking alert appears at the top of the window indicating that a document is required.
-
Click the Manage Documents button and follow the prompts to upload the EEO document from your computer or link the document from your PASSPort Vault.
For details on how to upload or link documents, see Upload or Link Documents to a Task.
-
After ensuring you have uploaded the correct document, click the Submit button.
Note: A document cannot be deleted once it has been submitted. If an incorrect document was submitted, upload and submit a new document and indicate in the Comment field that the previous document submission was made in error.

-
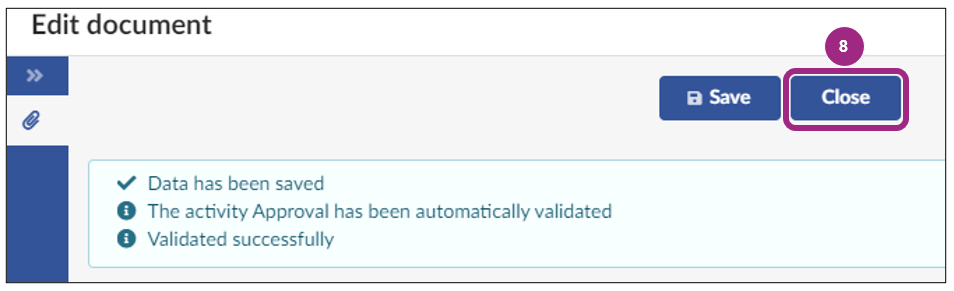
Then, click the Close button to return to the Documents window.
Note: EEO documentation is reviewed by the Division of Labor Services (DLS). DLS will reach out to you if they have any questions regarding your documentation. Once your documentation is approved, you will receive an email notification and its status in PASSPort will update from In Review to Approved.
Upload DBA Documentation
Doing Business As is a certification provided by the New York State Department of State (NYSDOS) for businesses that wish to conduct business under a name that is not their legal name.
Note: This should not be confused with Doing Business Accountability, which is related to Local Law 34 of 2007 (LL34), a campaign finance reform law that limits municipal campaign contributions from principal officers, owners and senior managers of entities considered to be doing business with the City.
Vendors should upload their DBA state certification and not the Doing Business Data Form.
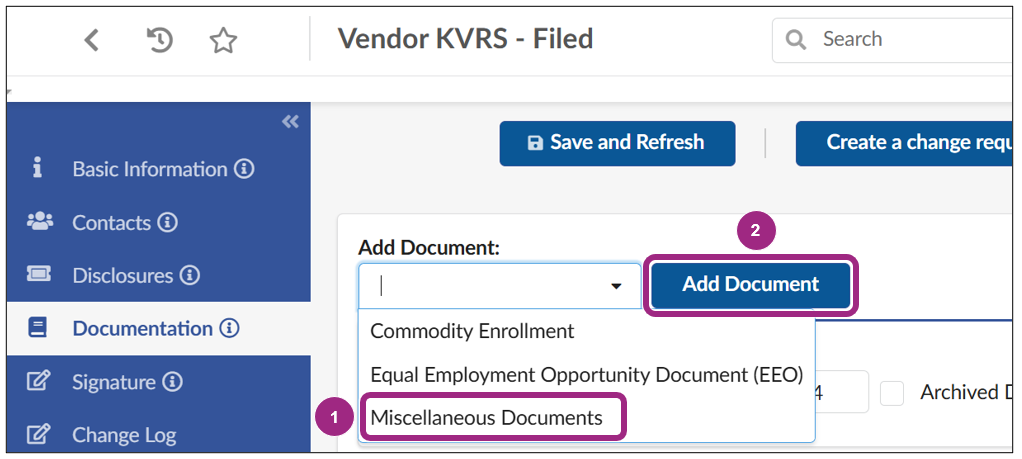
- To add a DBA document, click the Add Document drop-down field and select Miscellaneous Documents from the menu.
-
Click the Add Document button.
The Edit Document window opens.
-
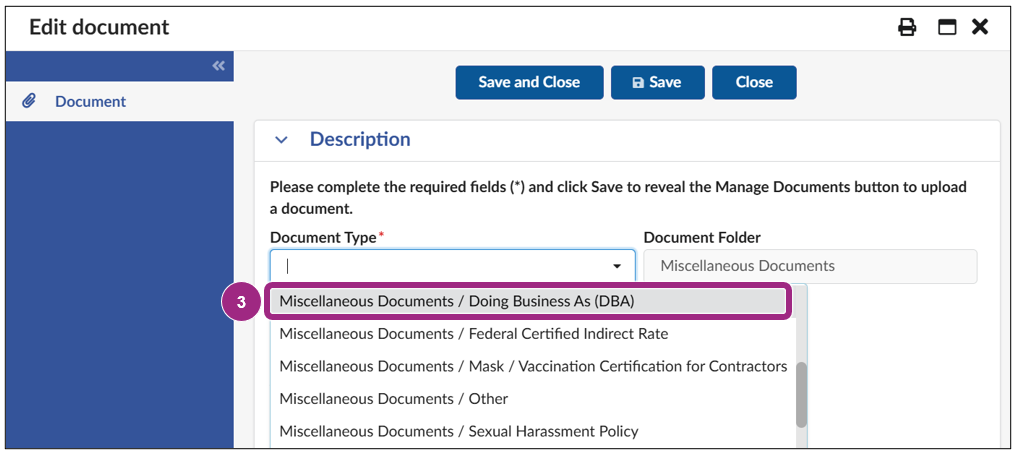
Click the Document Type drop-down field and select Miscellaneous/Doing Business As (DBA) from the drop-down menu.
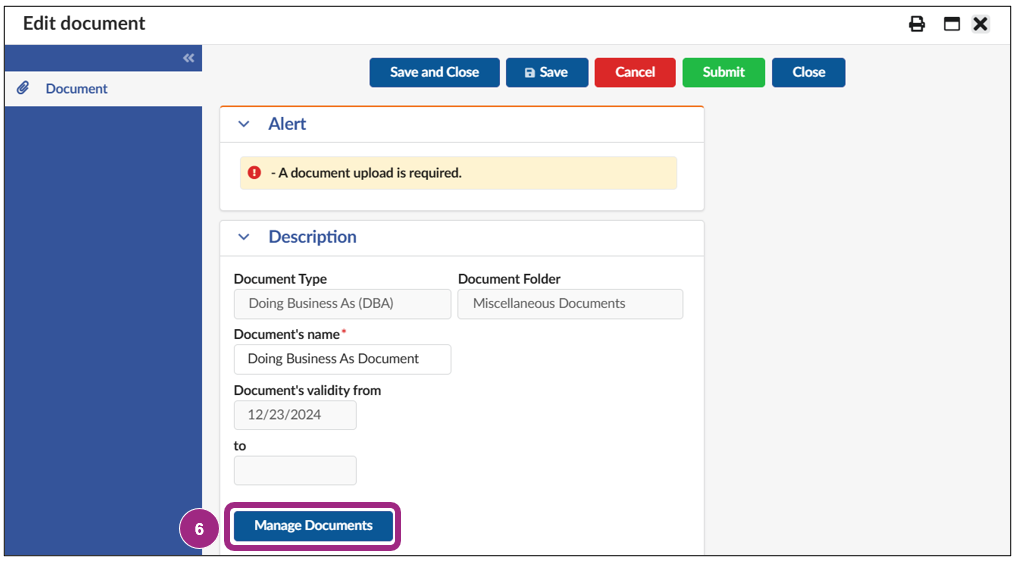
- Enter the Document's name.
-
Click the Save button at the top of the window.

-
Click the Manage Documents button and follow the prompts to upload the DBA document from your computer or link the document from your PASSPort Vault.
Note: Please upload your DBA NY State Certification. The Doing Business Data Form should not be uploaded here.
For details on how to upload or link documents, see Upload or Link Documents to a Task.
-
After ensuring you have uploaded the correct document, click the Submit button.
Note: A document cannot be deleted once it has been submitted. If an incorrect document was submitted, upload and submit a new document and indicate in the Comment field that the previous document submission was made in error.

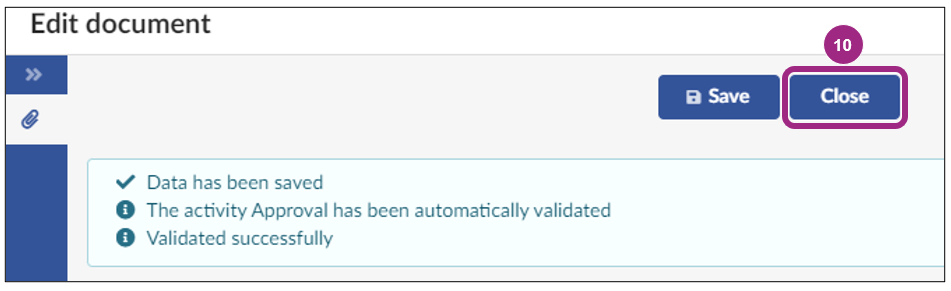
-
Then, click the Close button to return to the Documents window.
If necessary, repeat the steps in this guide to add additional documentation.
Last updated: April 25, 2025