


Vendor Profile: Update the CEO Section
Update the CEO (or Equivalent) Information section of your Vendor Profile.
Before we begin
The steps below can be completed by users provisioned with the roles:
- Vendor Admin
- Signatory
To update the CEO (or Equivalent) Information section on a Filed vendor profile in PASSPort, a Change Request must be submitted.
Before initiating a Change Request, navigate to the Vendor Profile > Contacts tab and add the contact you want to identify as the new CEO. Be sure to assign at least one role to the new contact. To access the account, the CEO must register a NYC.ID to create login credentials.
View the Add Vendor Users and Assign Roles guide insert link once published for step-by-step instructions.
Note: Any other changes you might want to complete (e.g., Principal Questionnaire updates) can be completed as part of this Change Request submission.
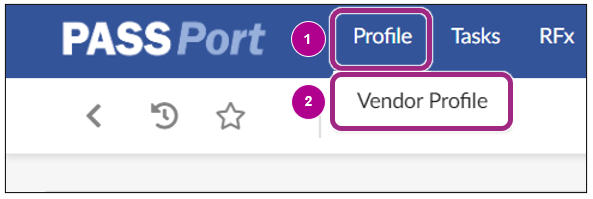
- From any page in PASSPort, click or hover over Profile in the top navigation menu.
- Click Vendor Profile from the drop-down menu.
- Click on the Create a change request button near the top of the page.
- Enter the reason for the request in Change request reason field.
- Click the Save and Refresh button near the top of the page.
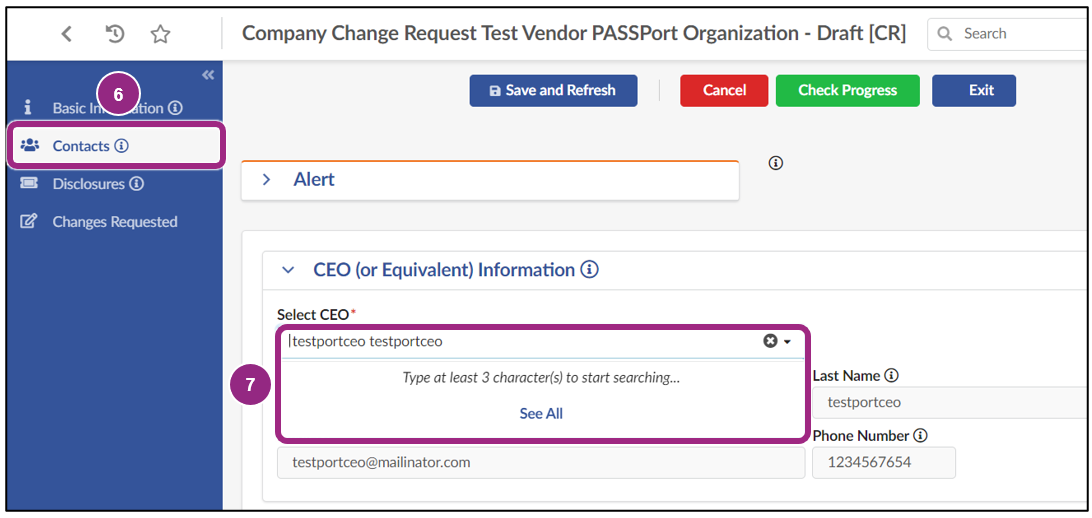
- Click on the Contacts tab. CEO (OR EQUIVALENT) INFORMATION section will display.
- Click into the Select CEO drop-down field and begin typing to select the name of the contact you want to identify as the CEO or click See All to choose from the full list of contacts.
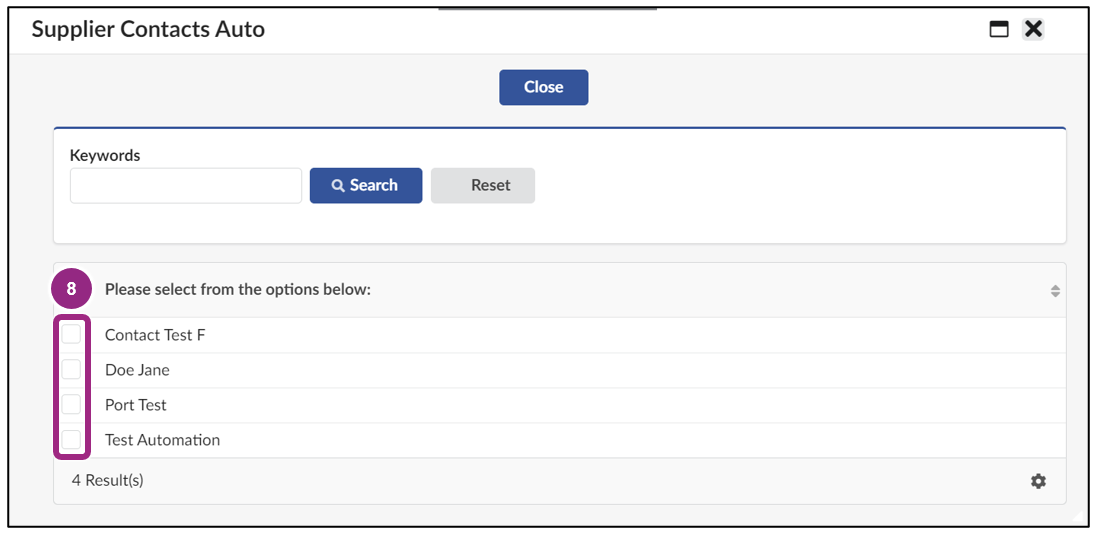
- In the Supplier Contacts Auto pop-up window, select the appropriate contact by clicking the checkbox to the left of their name. The window will automatically close and return to the Contacts screen.
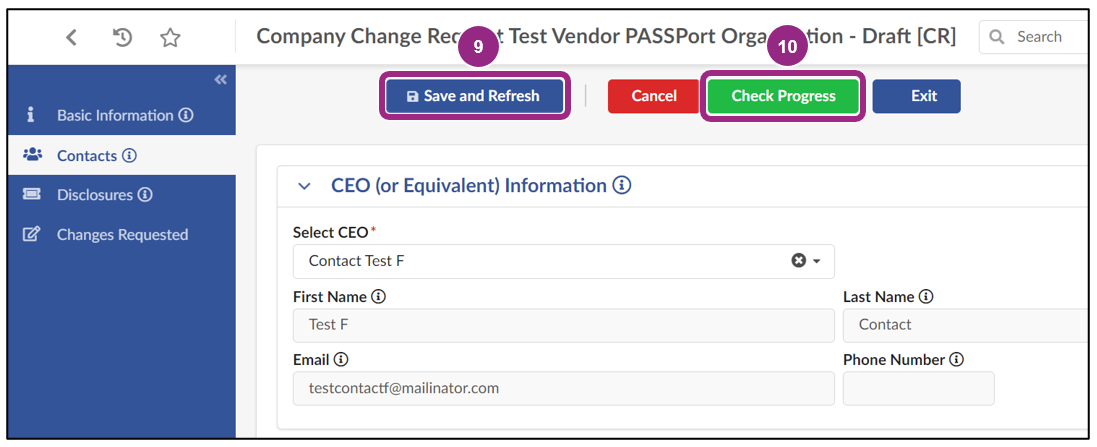
- Click the Save and Refresh button near the top of the page.
- Once you’re ready to submit the Change Request, click the Check Progress button near the top of the page.
- A pop-up will appear at the top of the screen. Click the OK button to confirm that all red blocking alerts have been addressed.
- Click the Signature tab in the left navigation menu.
- Click the Add Signature button in the Vendor Electronic Signature section.
- Click the Submit button at the top of the page. The page will refresh.
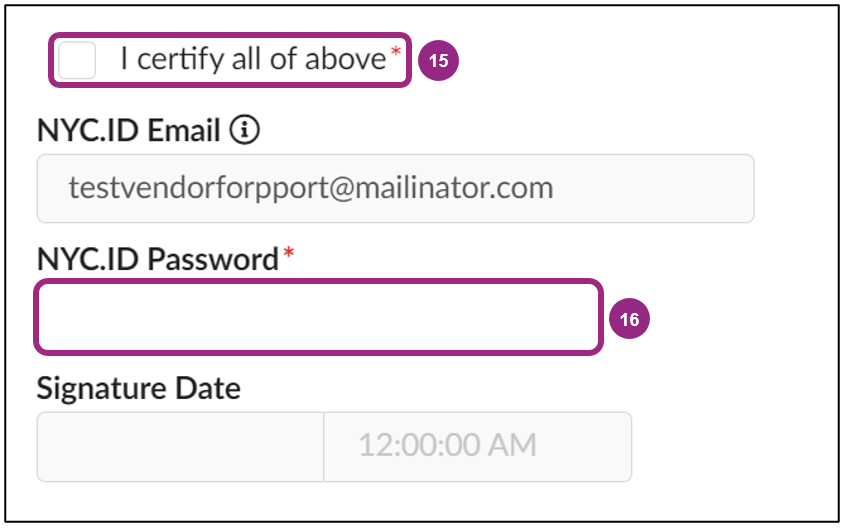
- Click the I certify all of above checkbox.
- Enter your PASSPort password into NYC.ID Password field.
- Click the Sign button at the top of the page.
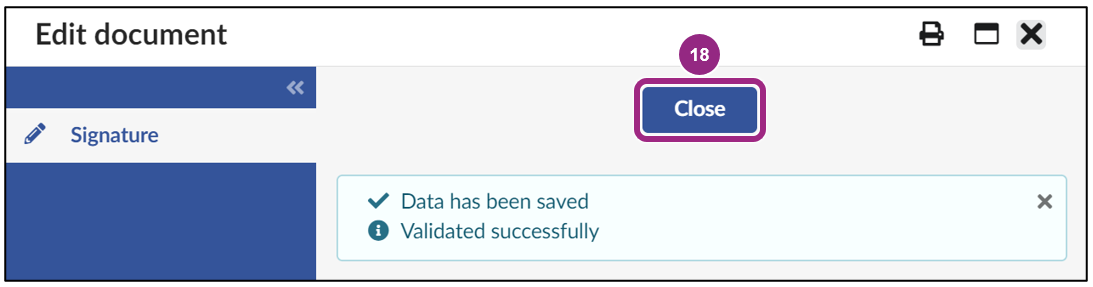
- Click the Close button.
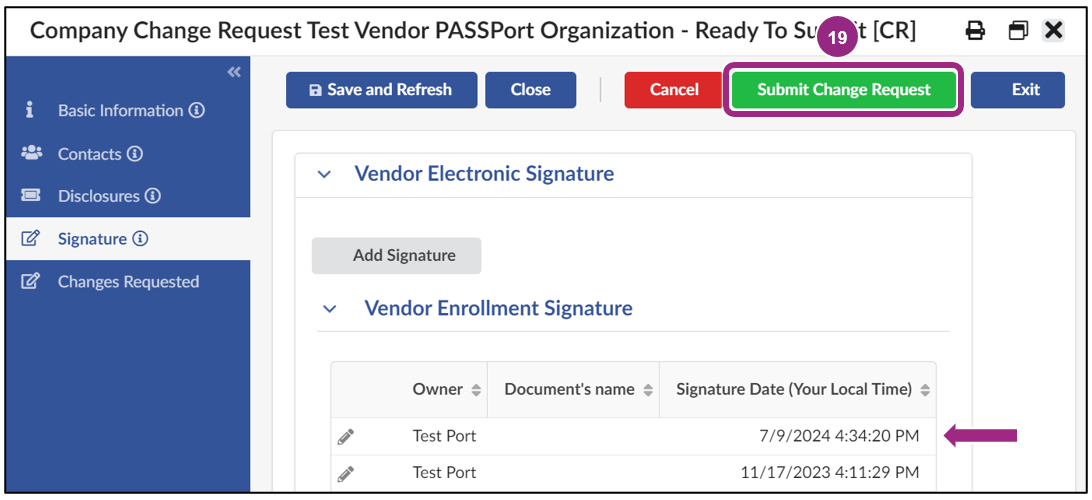
- If the signature has successfully been applied to the Vendor Enrollment Signature table, click the Submit Change Request button near the top of the page.
Your organizations vendor profile will open into the Basic Information tab.

The Change Request page will open.


Note: If you can’t find the contact you want to identify as the CEO, scroll down to the Vendor Contact Information section below the CEO Information section and click the Add a new Contact button. The newly added contact should appear once their information has been saved.
The CEO (or Equivalent) Information section will update with the selected CEO’s contact information.
If there’s anything else you want to change on the Vendor Profile, make the updates now as part of this Change Request submission.

The Change Request status will update from Draft to Ready to Submit.
Important: Only a contact assigned the Signatory role can sign a Change Request.

The Edit Document pop-up window will appear.

Scroll down to the Electronic Signature section to review the PASSPort Questionnaire Certification text.

The page will refresh, and a successful validation message will appear.
The new CEO details will now appear in the CEO section of your Vendor Profile > Contacts tab.