


Requirements Contracts: Submit Invoices
Learn how to create and submit DO1 invoices and Invoice Deductions for Requirements Contracts in PASSPort.
Before We Begin
The steps below can be completed by users provisioned with the roles:
- Vendor Admin
- Vendor Financials L2
Create an Invoice
Note: As a best practice, invoices should be created directly from the Purchase Order (PO). This speeds up the Invoice creation process by pre-populating the following fields of the Invoice: Creation Date, Agency, Contract Vendor, Payee Vendor and Orders.
- Click Ordering in the top navigation menu.
-
Select Browse Orders from the drop-down.

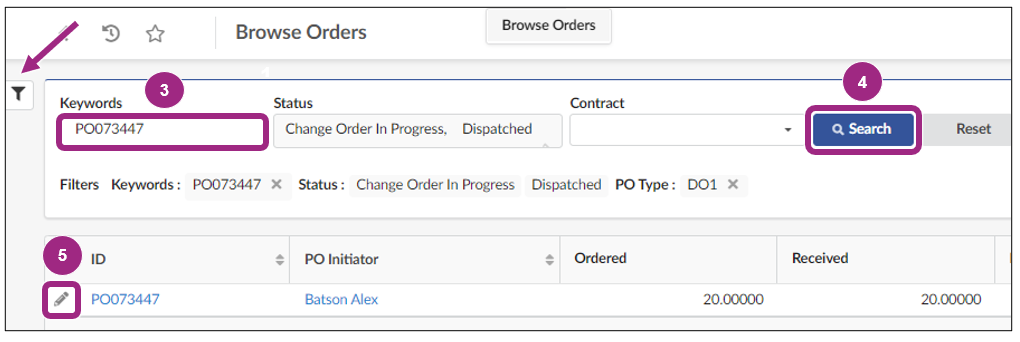
- In the Keywords field, enter the Purchase Order ID (also known as the purchase order number). Alternatively, use the other search filters accessible via the funnel icon.
- Click the Search button. Purchase Orders display in the table below.
-
Click the pencil icon to open the Purchase Order.
-
Click the Create Invoice button at the top of the page.

-
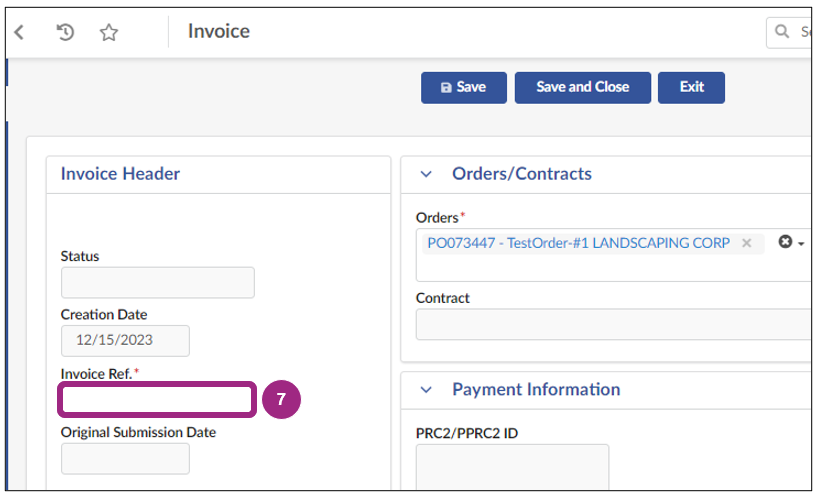
In the Invoice Header section, enter an Invoice reference number in the Invoice Ref field. This could be any type of numeric or alphanumeric information that helps identify the Invoice.
-
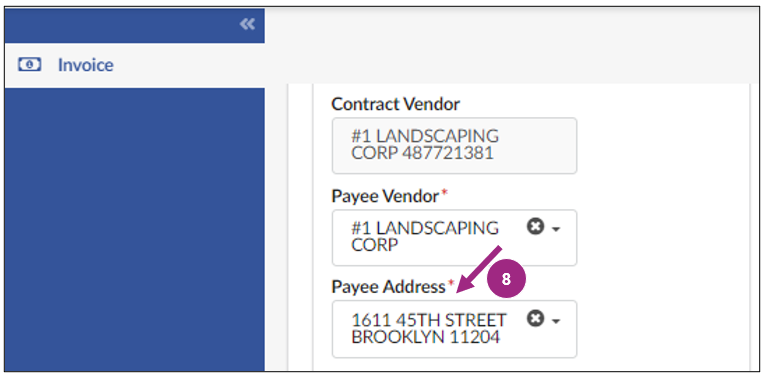
Make sure the Payee Address displays the same address used for your organization in the Payee Information Portal (PIP).
-
Click Save at the top of the Invoice.
Invoiceable items may now be added to the Products/Services section.

A system generated Invoice ID (starting with INV) appears in the top left-hand corner of the Invoice and the status updates to Draft.
-
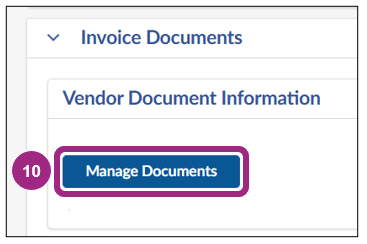
If needed, you can upload any supporting documentation required by the contracting Agency in the Invoice Documents section. Click the Manage Documents button and follow the prompts that appear.
Review the Upload or Link Documents to a Task guide for more detailed instructions.
Note: There is no limit to the number of files that can be attached to an Invoice.
-
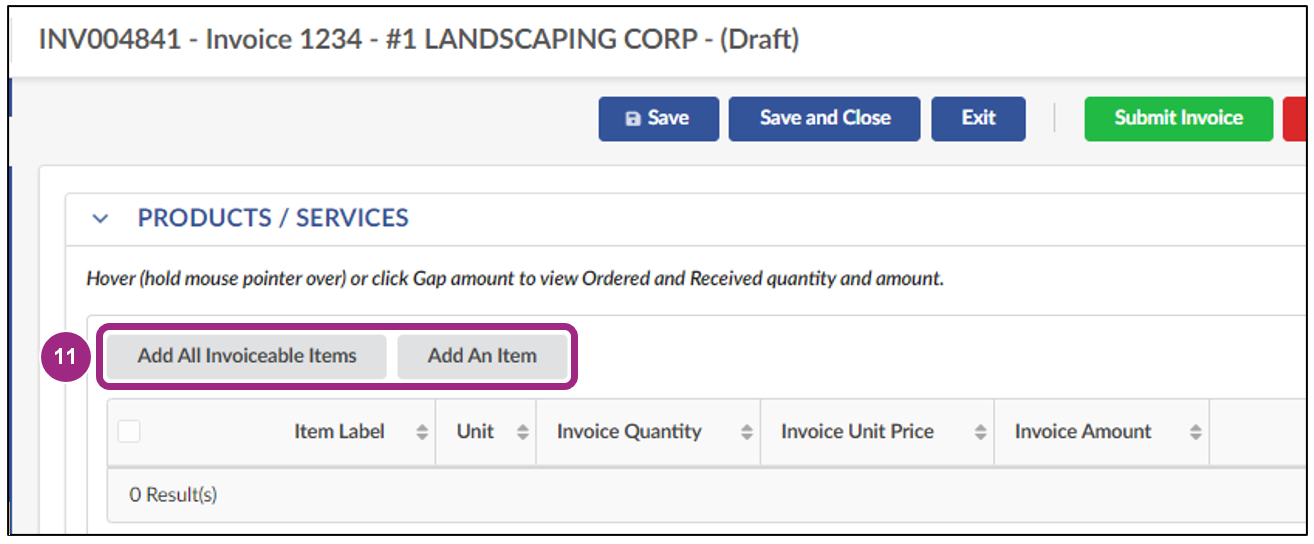
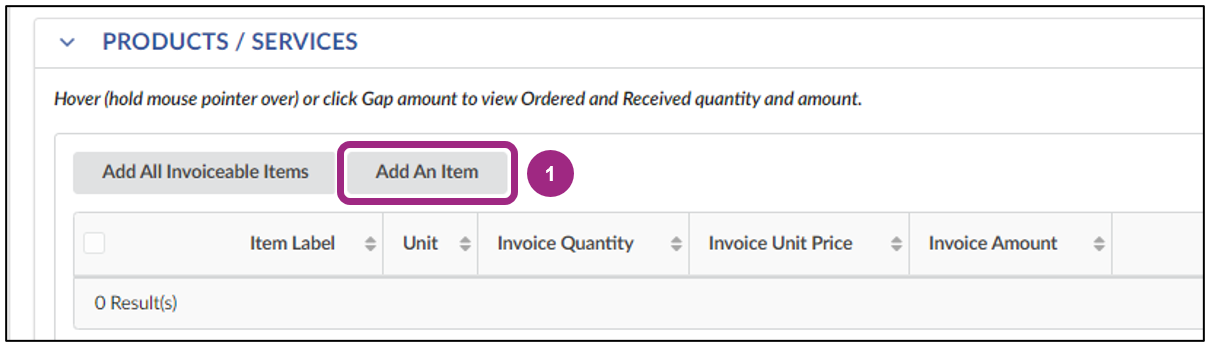
Scroll down to Products/Services and click one of the following buttons to begin adding invoice line(s).
- Add All Invoiceable Items: adds all line items on the PO that are marked Invoiceable AND have a value greater than 0.
- Add An Item: adds items one by one.
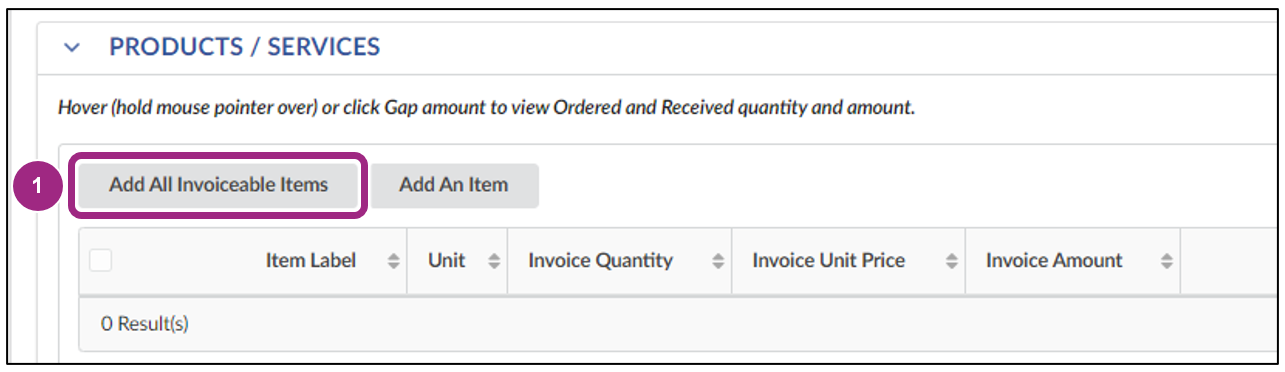
Add All Invoiceable Items
-
Click the Add All Invoiceable Items button.
-
The invoiceable items from the budget automatically display in the Product/Services table.
Click the trash icon to remove any line(s) for which you do not intent to invoice.
-
Click the pencil icon to access each added line.
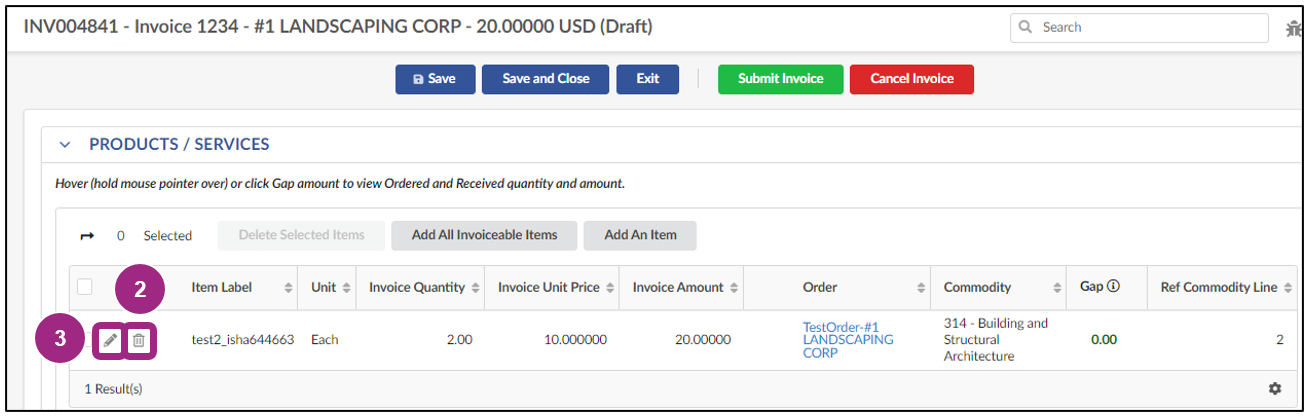
The Add/Edit Invoice Lines window appears.
-
Edit the Invoice Quantity field, as needed. Once completed, click the Save and Close button.
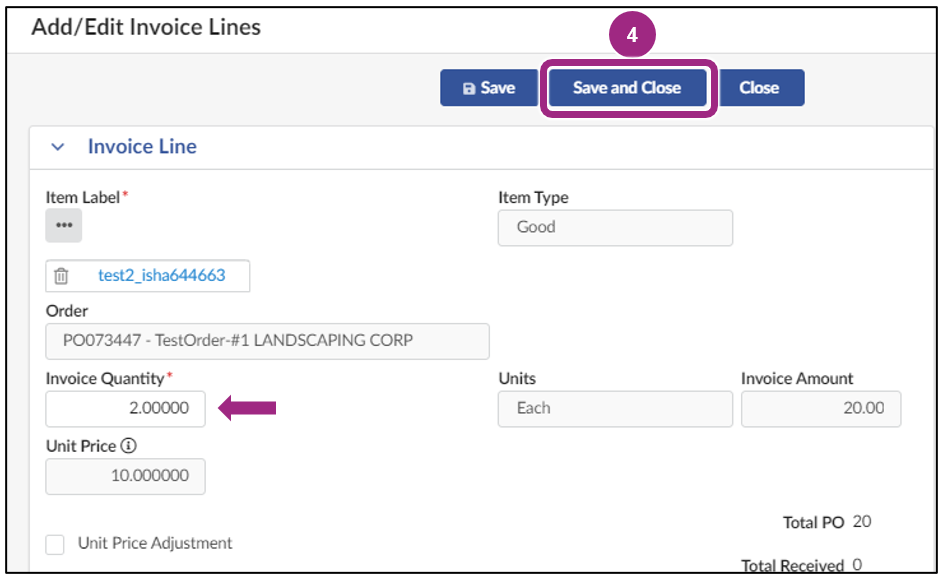
Important: We strongly encourage vendors not to adjust the unit price of items on their invoices. If a decrease in price should be applied due to an issue with the item quality or delivery, an Invoice Deduction may be applied instead. All permanent price adjustments should be approved by DCAS.
Add an Item
-
Click the Add An Item button.
The Add/Edit Invoice Lines window appears.
-
Click the ellipsis (three dots) under Item Label.
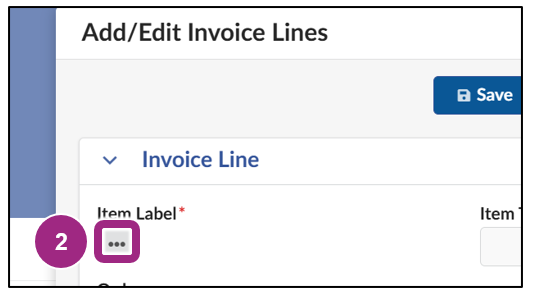
The Order Line Items window appears.
-
Click the checkbox in the left-most column of the item you would like to add.
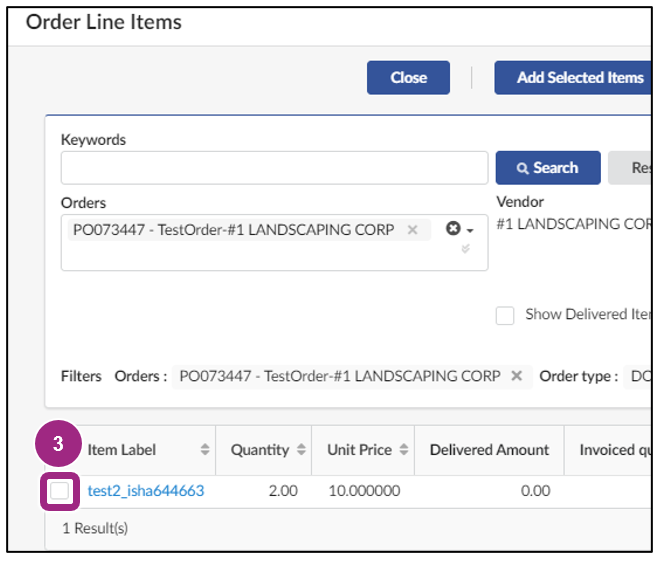
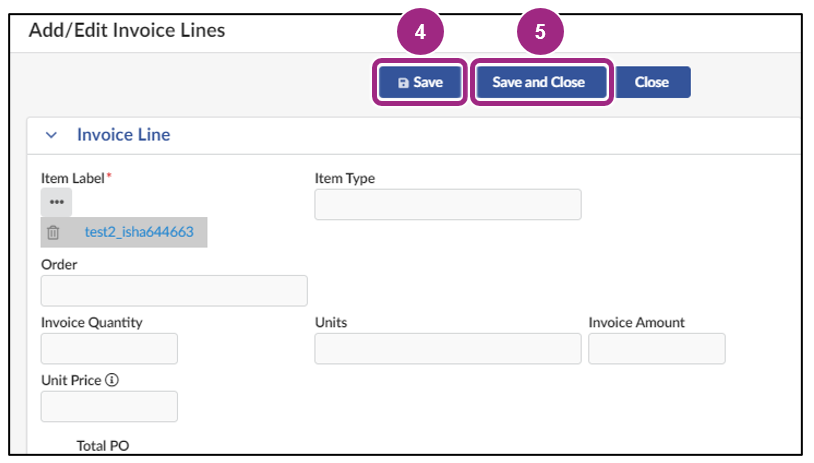
The window automatically returns to Add/Edit Invoice Lines.
- Click the Save button to make edits to the Invoice Quantity and/or Unit Price.
-
Once completed, click the Save and Close button to return to the main invoice page.
Repeat steps in this section to add additional lines.
Submit an Invoice
-
Click Save at the top of the invoice. This action populates the Gross Invoiced Amount.
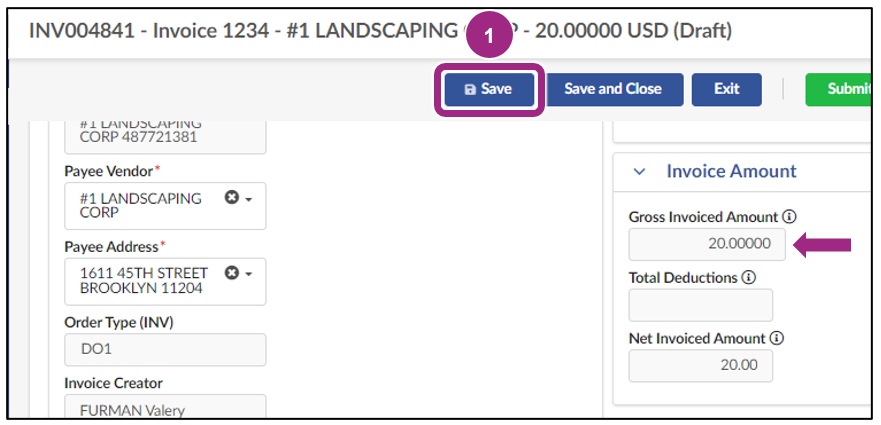
-
Click the Submit Invoice button.

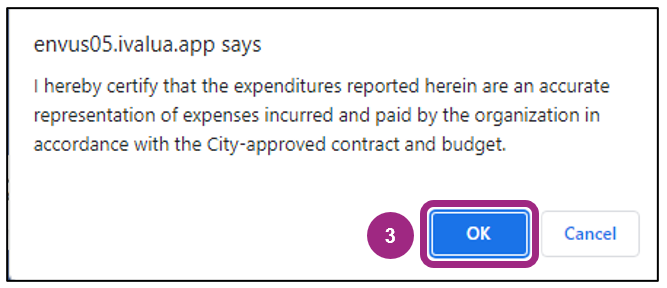
A confirmation pop-up window appears.
-
Click OK to certify the listed expenditures on the invoice ar accurate.
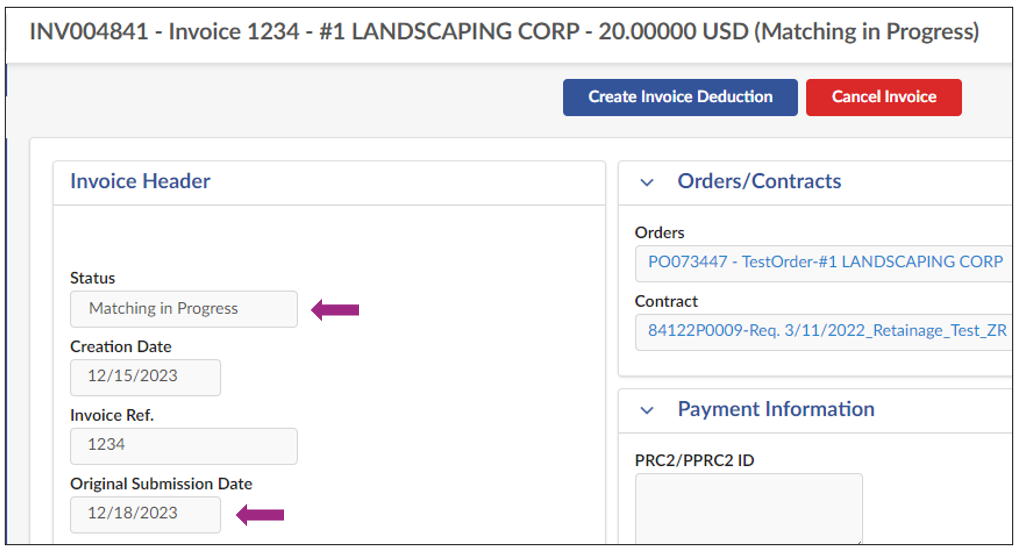
Upon successful Invoice submission, a message displays at the top of the Invoice and important new information displays in the Invoice Header:
- The Invoice Status will update from Draft to either Matching in Progress, if the Agency has not yet submitted a receipt for the item being invoiced, or Invoice Approval in Progress, if a receipt is already in Completed status.
- Original Submission Date displays the Invoice submission date.
Invoice Statuses can be monitored either directly via the invoice or via the Purchase Order along with all invoices submitted for that fiscal year.
Understand and Track Your Invoice Status
| Invoice Status | Description |
|---|---|
| Draft | The Invoice is drafted and not yet submitted for approval. |
| Matching in Progress |
The Invoice is submitted and has failed some aspect of the 4-way match, which checks for:
|
| Invoice Approval in Progress | The Invoice is at the Invoice approval steps. |
| Level 1 / Level 2 Payment Approval in Progress | The Invoice is at the payment approval steps. |
| Ok-to-Pay | The Invoice has been approved and payment information has been sent to FMS. |
| FMS Action Pending |
This status occurs in 2 scenarios:
|
| Payment in Progress | This status can occur when the agency is waiting for a payment request approval from FMS. |
| Disbursed | Payments have been disbursed to you. |
| Canceled | The Invoice has been canceled. |
Invoice Deduction Overview
In PASSPort, Invoice Deductions can be created and submitted by the vendor in response to a Reconciliation Request sent by the Agency. These are negative invoices used to deduct from the amount of the original Invoice. Invoice Deductions may be necessary if the Receiver conducts a return or exchange, BQA recommends quality reductions or rejects items, or if the Receiver requests deductions for broken or damaged items. All Invoice Deductions must be linked to an Invoice in order to be submitted for Agency approval.
An Invoice Deduction should not be created to correct a mistake on the initial Invoice. If this happens, you should cancel the initial Invoice and create a new one.
Once an Invoice Deduction has been approved, the negative balance will be applied to the Invoice it is linked to, subtracting the amount of the deduction from the gross invoiced amount.
Create an Invoice Deduction
Invoice Deductions can be initiated directly from the Invoice. Deductions can be used to reduce the amount of an Invoice that is already submitted. Prior to submitting an Invoice Deduction, review and determine whether canceling and submitting an Invoice with the impacted line(s) is the preferred step.
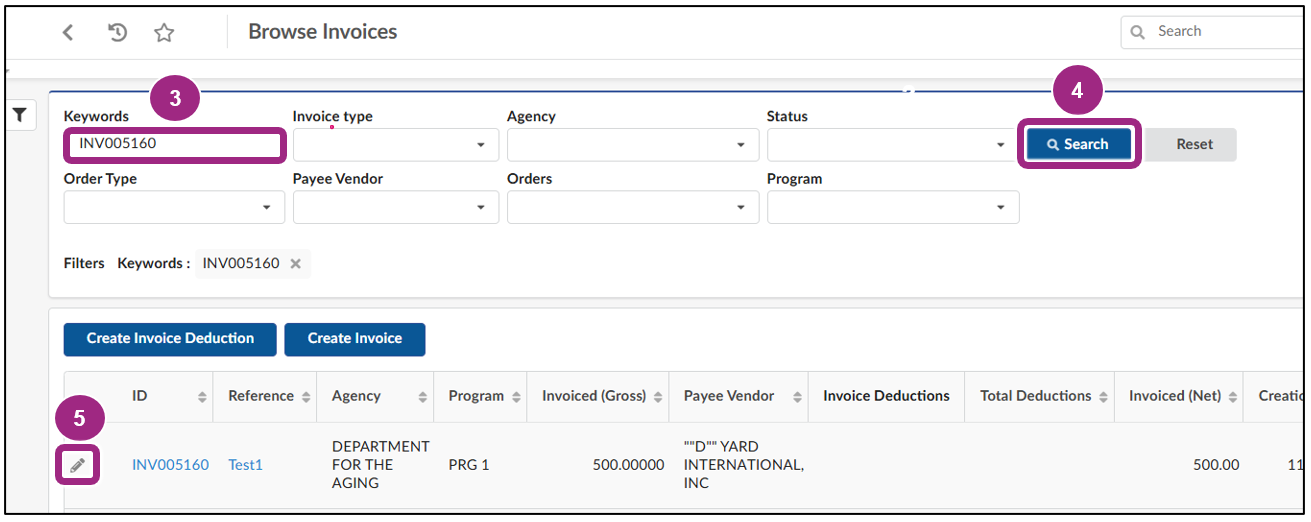
- Click Financials in the top navigation menu.
-
Select Browse Invoices from the drop-down.

- In the Keywords field, enter the Invoice ID of the Invoice that needs a deduction.
- Click the Search button. Search results appear below the search filters.
-
Click the pencil icon to access the Invoice.
-
Click the Create Invoice Deduction button at the top of the Invoice.

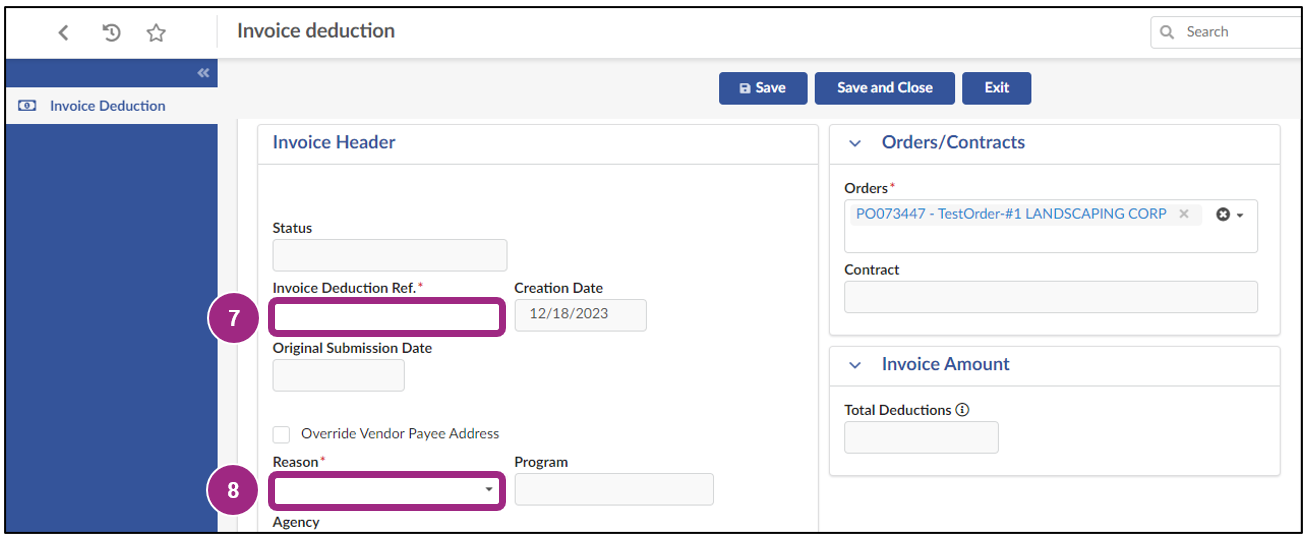
The Invoice Deduction window appears.
- Enter information in the Invoice Deduction Ref. field to assist with tracking. This field can be used to add an internal reference number.
-
In the Reason drop-down field, select one of the options below:
- Returned Goods
- Damanges Goods
- Late Delivery
- Incorrect Invoice
- Poor Service Quality
-
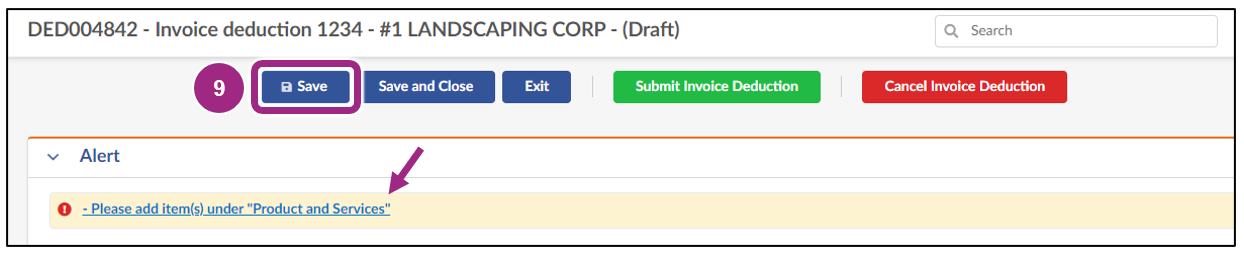
Click the Save button at the top of the page.
The Invoice Deduction is now saved as a Draft with a unique Deduction ID for reference.
In the Alert section at the top of the page, a blocking alert displays the message "Please add item(s) under the 'Product and Services'.
-
If needed, you can upload any supporting documentation required by the contracting Agency in the Invoice Documents section. Click the Manage Documents button and follow the prompts that appear.
Review the Upload or Link Documents to a Task guide for more detailed instructions.
Note: There is no limit to the number of files that can be attached to an Invoice.
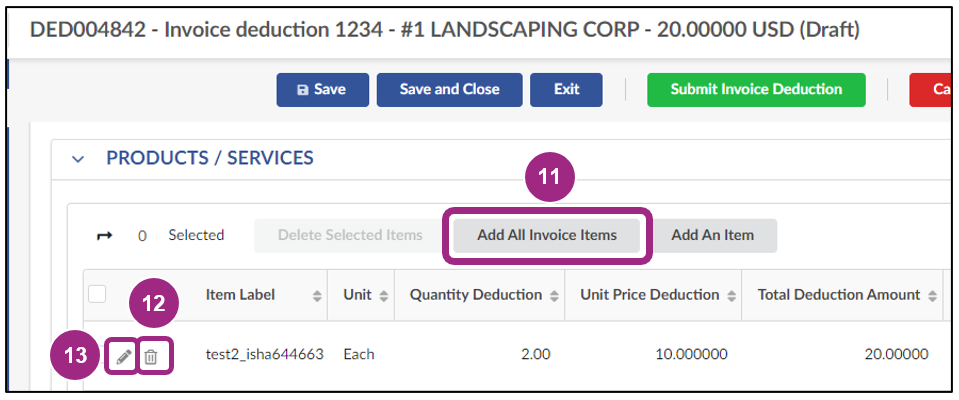
- Scroll down to the Products/Services section and click the Add All Invoice Items button.
- Click the trash icon to remove any lines that do not require a Deduction.
-
Click the pencil icon next to Invoice line to bring up a new window.
- In the Add/Edit Invoices Lines window, select the Deduction Type – by Price or Quantity.
-
Depending on your selection, either the Deduction Quantity or Deduction Unit Price field will become editable.
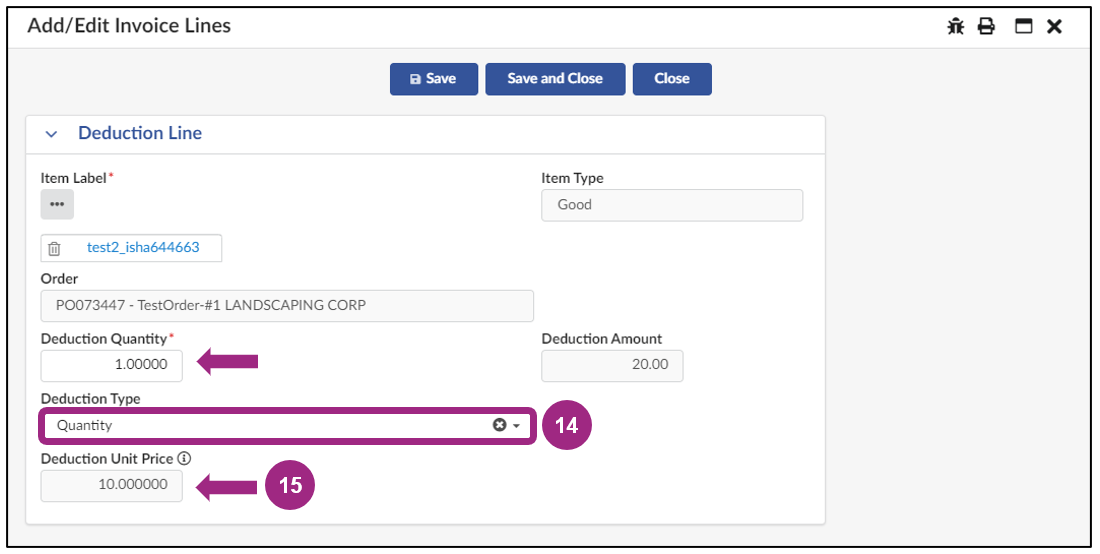
-
Once completed, click the Save And Close button at the top of the page.

To add additional Deductions, repeat steps 13-16.
Submit an Invoice Deduction
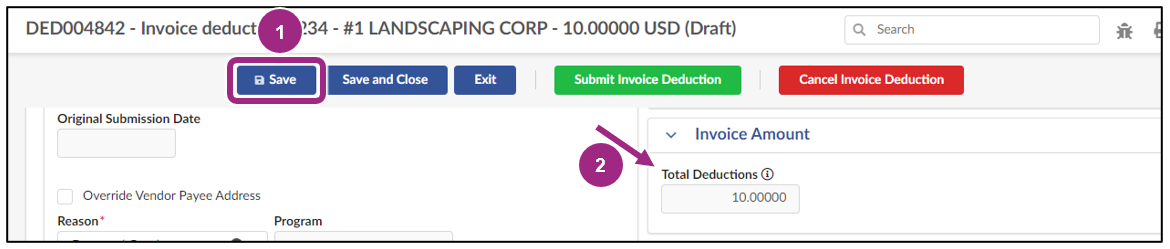
- Click Save at the top of the Invoice Deduction.
-
Verify the Total Deductions located in the Invoice Amount section.
-
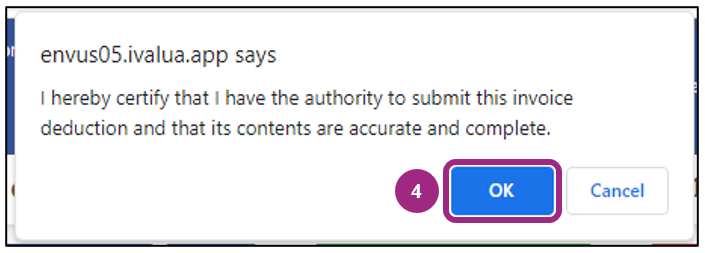
Click the Submit Invoice Deduction button.

A confirmation pop-up window appears.
-
Click OK to certify the invoice line deductions entered are accurate and complete.
Note: If needed, the option to Cancel the Deduction is available.
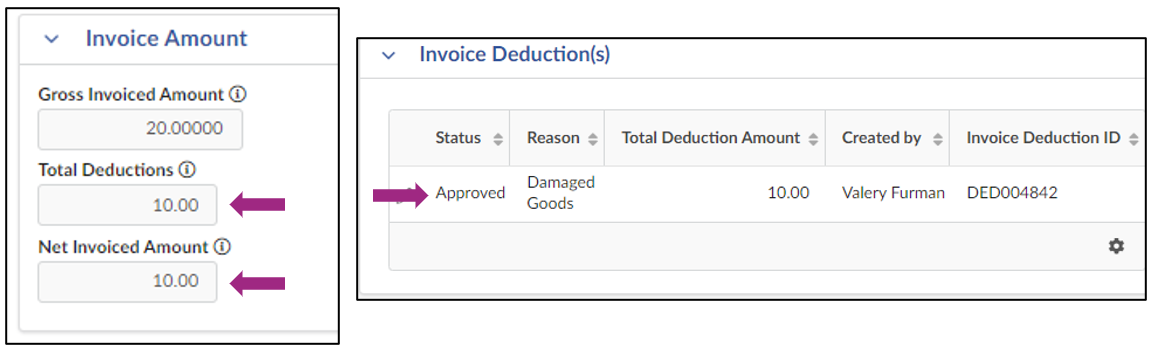
Upon submission, the Status will update from Draft to Approval in Progress.
To monitor the Deduction, take note of the Deduction ID and track it via the Invoice tab of the associated Purchase Order.
Once the Invoice Deduction is approved by the Agency, the total deduction amount will appear on the associated invoice and the Net Invoiced Amount will update.
Last updated: June 18, 2025