


Create and Submit Invoice Deductions
Invoice deductions can be used to reduce the amount of an invoice that has already been submitted.
Before we begin
The user creating and submitting invoice deductions should have the Vendor Admin or Vendor Financial L2 roles in PASSPort.
Invoice deductions can be initiated directly from the invoice. Before submitting an invoice deduction, determine if canceling the invoice and submitting a new invoice with the impacted item lines is preferable.
Step 1 of 7
On the top navigation menu, click Financials. A drop-down menu will appear; click Browse Invoices on the menu.
Step 2 of 7
Locate the invoice requiring a deduction
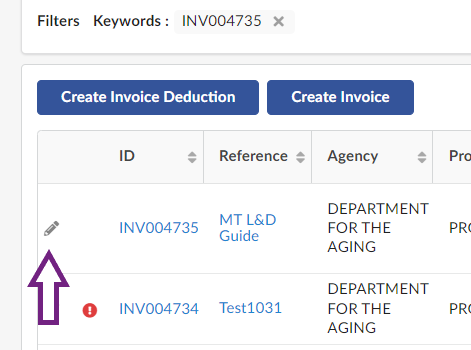
In the Keywords text field, enter the Invoice ID of the invoice that needs a deduction.
Click the Search button.
Click the pencil icon on the left of the search result to access the invoice to make a deduction. You will be brought to a page with the details of the invoice.
Step 3 of 7
Create an invoice deduction
Click the Create Invoice Deduction button near the top of the page.
In the Invoice Header section, enter information in the Invoice Deduction Ref text field to assist with tracking.
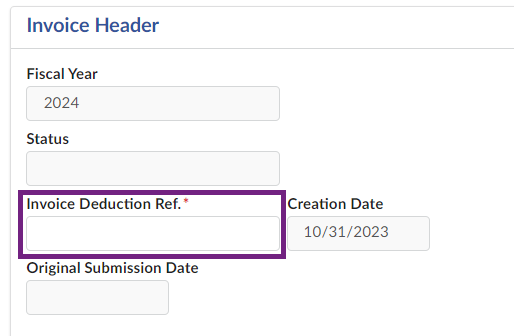
Click the Reason drop-down field to select your reason for creating the deduction. The options are:
- Returned Goods
- Damaged Goods
- Late Delivery
- Incorrect Invoice
- Poor Service Quality
Step 4 of 7
Upload supporting documentation
To upload any supporting documentation required by the contracting agency, find the Invoice Documents section.
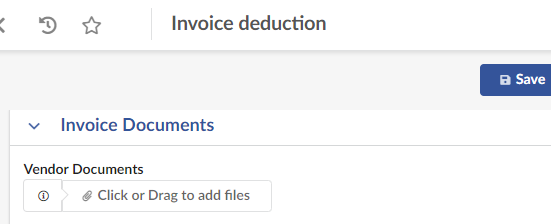
Click the Click or Drag to add files button to select your document.
- The Document format must be PowerPoint, Excel, Word, or PDF.
- Maximum file size is 125 MB.
- There is no limit to the number of files that can be attached.
Click the Save button near the top of the page.
The invoice deduction is now saved as a draft with a unique Deduction ID, found in the heading of the page. In the Alert section, a blocking alert has instructions for adding items in the Products / Services section.
Step 5 of 7
Add line items to make deductions
In the Products / Services section, click the Add All Invoice Items button.
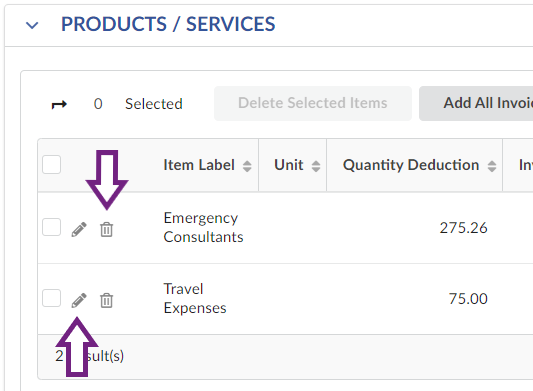
For each item in the table:
- Click the trash can icon found on the left side of the table to remove a item line that do not require a deduction.
- Click the pencil icon found on the left side of the table to access the item line information. An Add/Edit Invoice Lines window will pop up.
Step 6 of 7
Enter the deduction line
In the Add/Edit Invoice Lines window, find the Deduction Quantity text field and enter a deduction quantity for this deduction line.
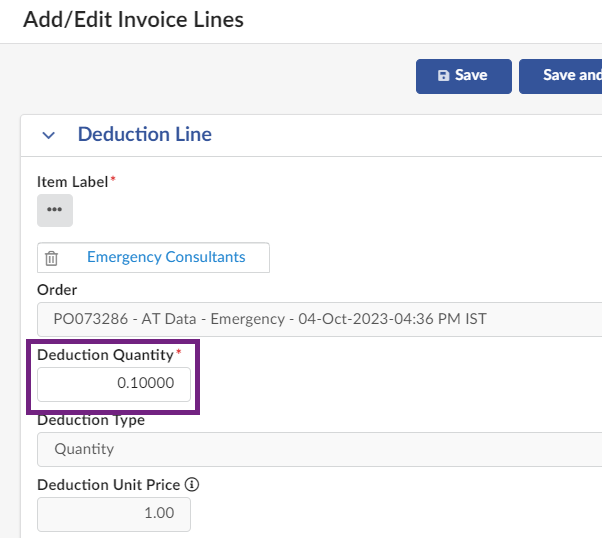
Click the Save button near the top of the window to update the Deduction Amount text field.
Click the Save and Close button near the top of the window to close the Add/Edit Invoice Lines window and return to the Invoice Deduction page.
To add additional deductions to each line item, click the pencil icon on the left side of the line item requiring a deduction and repeat this step.
Step 7 of 7
Submit and certify the invoice deduction
On the Invoice Deduction page, click the Save button near the top of page.
Before submitting the invoice deduction, in the Invoice Amount section, check that the Total Deductions amount is correct.
If no updates are needed, click the Submit Invoice Deduction button near the top of page.
A dialog box pops up to certify the invoice line deductions entered are accurate and complete. Click the OK button in the dialog box to certify and submit the invoice deduction.
If the invoice deduction is successfully submitted, in the Invoice Header section, the Status field will update from 'Draft' to 'Approval in Progress'.
To monitor the deduction, use the Deduction ID to track the deduction on the Invoice page of the associated purchase order.
An option to cancel the deduction is available.
Last updated: November 17, 2023