


Create and Modify Budgets
Businesses and organizations can create and modify budgets of their active contracts in PASSPort, using Purchase Order Change Requests (POCRs).
Before we begin
The user creating and modifying budgets should have the Vendor Admin, Vendor Financials L1, or Vendor Financials L2 roles in PASSPort.
To confirm that the user has the necessary task authorizations, a Vendor Admin needs to:
Log in to PASSPort. On the top navigation menu, click Profile, then click Vendor Profile. Click Contacts on the left-side navigation menu.
Look for the user in the Vendor Contact Information section. Make sure the user is listed as a contact with the correct email address, and in the Profile column they have one of the required roles listed above.
On the top navigation menu, click Contracts, then click Manage My Contracts. Find the contract with the budget to be created or modified and click the pencil icon on the left-end of the contract listing.
Click Setup Team on the left-side navigation menu. In the Vendor Team section, make sure the user is listed as a contact. If they are listed, the user can proceed to create and modify the budget. If they are not listed, see page 16 of the User Manual: Contract Registration for Vendors.
Step 1 of 6
Find the purchase order
On the top navigation menu, click Financials. A drop-down menu will appear; click Browse Contract Budgets on the menu.
In the Keywords text field, enter the purchase order number.
Click the Search button. Results matching your criteria will appear in a table.
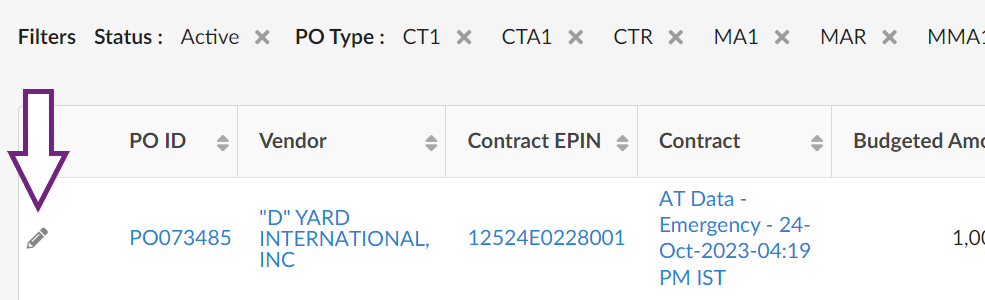
To view details of the purchase order you want to modify, click the pencil icon on the left of the search result.
Step 2 of 6
Create purchase order change request
Click the Create PO Change Request button near the top of the page.
The Create PO Change Request button may not be present if:
- The contracting agency has not enabled vendor-submitted budgets on the contract, or
- There is a POCR in progress. Previously initiated POCRs can be found by clicking on Changelog on the left-side navigation.
If you are able to initiate a POCR, clicking the Create PO Change Request button will bring you to a Select Purchase Change Request Type page.
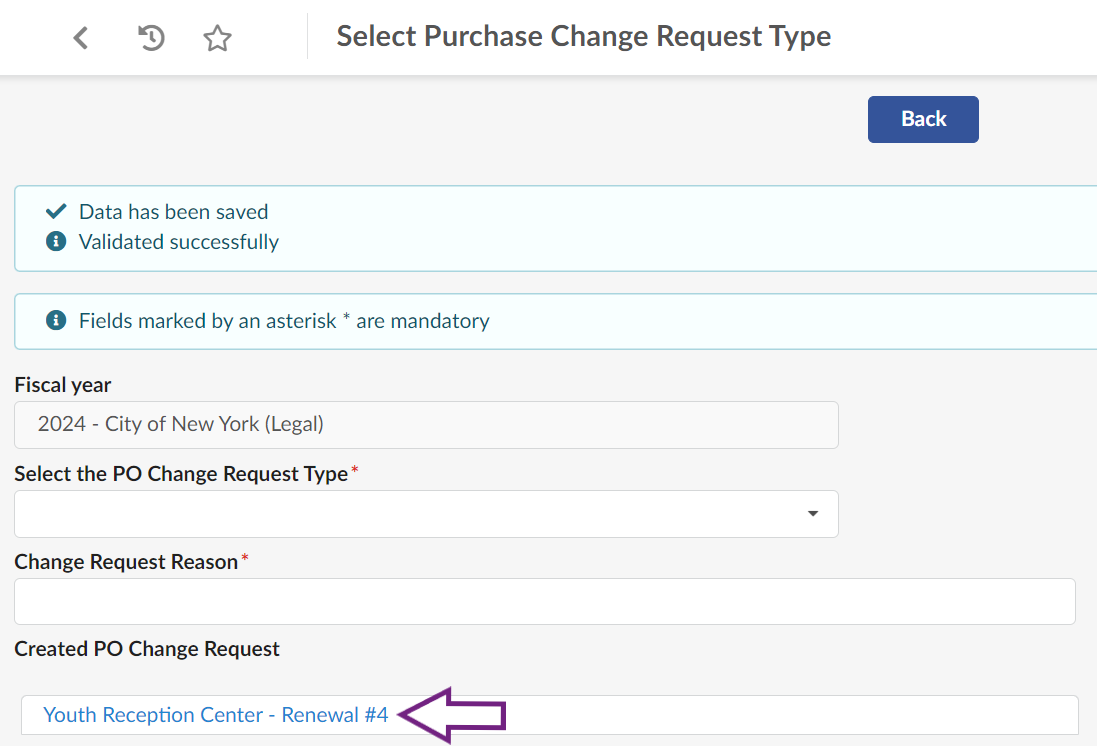
Click the Select the PO Change Request Type drop-down field and select Budget Change Only.
In the Change Request Reason text field, enter your reason for this change request. Example reasons you can enter:
- "Create Budget"
- "Modify Budget"
Click the Submit button near the top of the page.
If the change request is successfully created, in the Created PO Change Request text field, a link to your change request will appear. Click the link and the purchase order change request window will pop up.
Step 3 of 6
Upload backup documentation
Check with your contracting agency if submission of backup documentation is required. If not, move onto the next step.
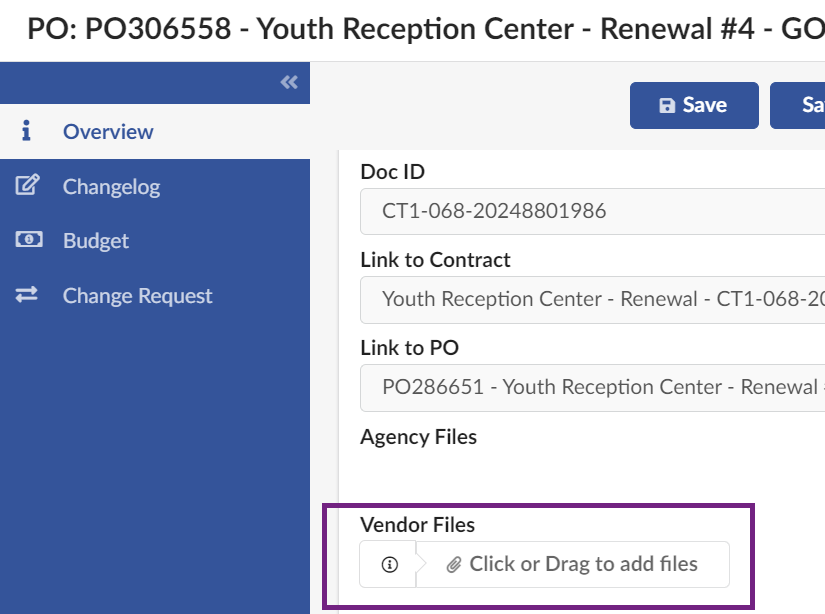
In the PO change request window, click the Click or Drag to add files button under Vendor Files to upload required documents.
Any number of files from your computer can be uploaded with a 165 megabytes file size limit.
Step 4 of 6
Void existing budget lines
Click Budget on the left-side navigation of the pop-up window.
Find the Detailed FY Budgets section. If the contracting agency made any actions against the purchase order, existing budget lines will be listed in the table in this section.
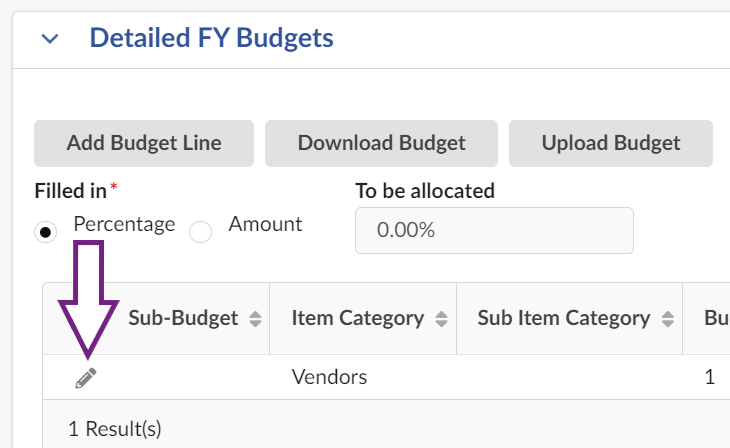
Before adding budget lines to your change request, you need to void any existing budget lines.
Click the pencil icon to the left of an existing budget line in the table. An Add Budget Line window will pop up.

In the Budget Line Information section, click the Item Category field to open a drop-down menu. Click See All at the bottom of the drop-down menu. An Item Category (Budgets) window will pop up.
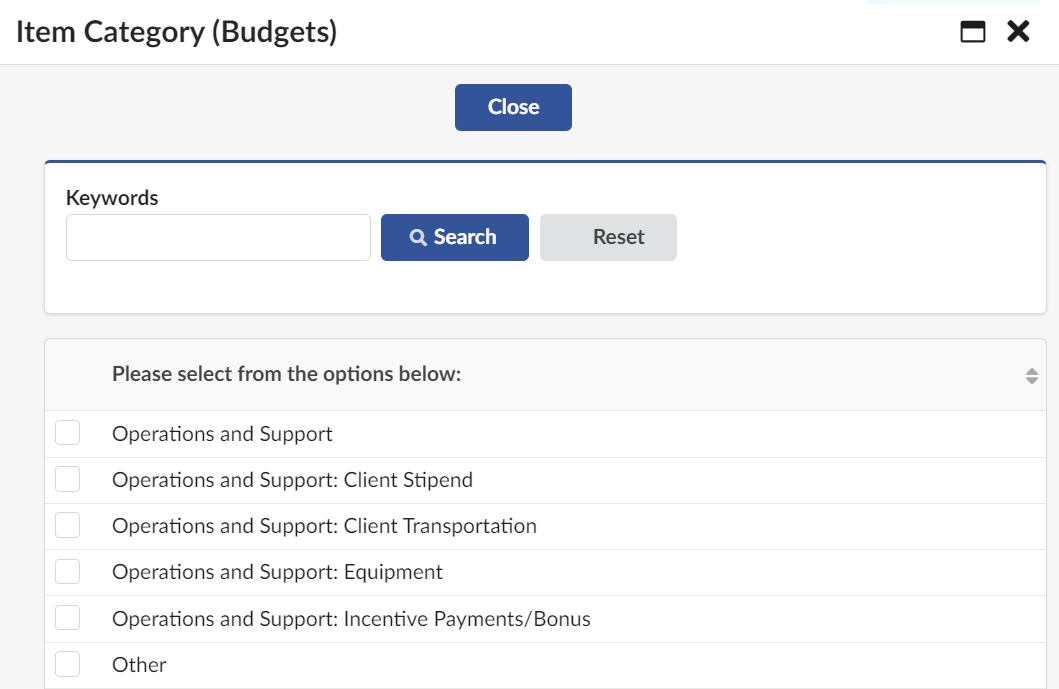
In the Please select from the options below: listing, find and click on the checkbox next to Other to select it from the listing.
Click the Close button near the top of the Item Category (Budgets) window.
In the Add Budget Line window, click on the Budget Line Item text field and enter 'Void Line'.
In the Budget Financials Section, under Edit By there are 2 choices: 'Amount' and 'Quantity'. Click the circular button to the left of Quantity to select it.
In the Quantity text field, enter '0'.
Click the Save and Close button near the top of the Add Budget Line window.
Step 5 of 6
Two ways to add budget lines in PASSPort
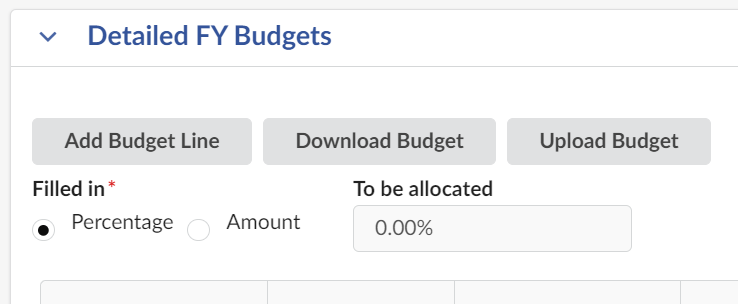
On the Budget page, in the Detailed FY Budgets section there are 3 buttons:
- Add Budget Line: Adds budget lines directly in PASSPort
- Download Budget: Downloads an Excel worksheet template to use for Upload Budget
- Upload Budget: Adds budget lines by using an Excel template
Step 5A of 6
Use the Add Budget Line button
Click the Add Budget Line button. An Add Budget Line window will pop up.
Fill out the required information in the Budget Line Information section:
- Item Category is a preset list of categories defining the deliverable of the budget line.
- Budget Line Item provides details about the deliverable. Enter a label.
Fill out the required information in the Budget Financials Section:
- Quantity is the amount budgeted towards the deliverable.
- Unit Price should be '1' unless it is a rate-based budget line.
Entering '1' is recommended for Unit Price since the unit price is not editable after submission.
Click the Save and Close button near the top of the Add Budget Line window.
Repeat this step to add your budget lines for this change request.
Step 5B of 6
Use the Upload Budget button
Click the Download Budget button to obtain the Excel budget template. Make sure your popup blocker is not blocking your download.
Open the Excel template and enter budget line information according to the column labels. Columns marked in red indicate required fields. The required fields are:
- Item Category
- Budget Line Item
- Quantity
- Unit Price
After you have filled out the template, save the file and return to PASSPort.
Click the Upload Budget button. An Upload Budget Lines window will pop up.
Click the Click or Drag to add a file button in the pop-up window to add your budget template file.
Click the Upload button near the top of the window.
Step 6 of 6
Submit the budget
Once you have added all the budget lines you want, check the FY Budgeted Amount listed in the Fiscal Year Budget Information section. It must equal the Total Budgeted Amount in the bottom right of the Detailed FY Budget section before the budget can be submitted.
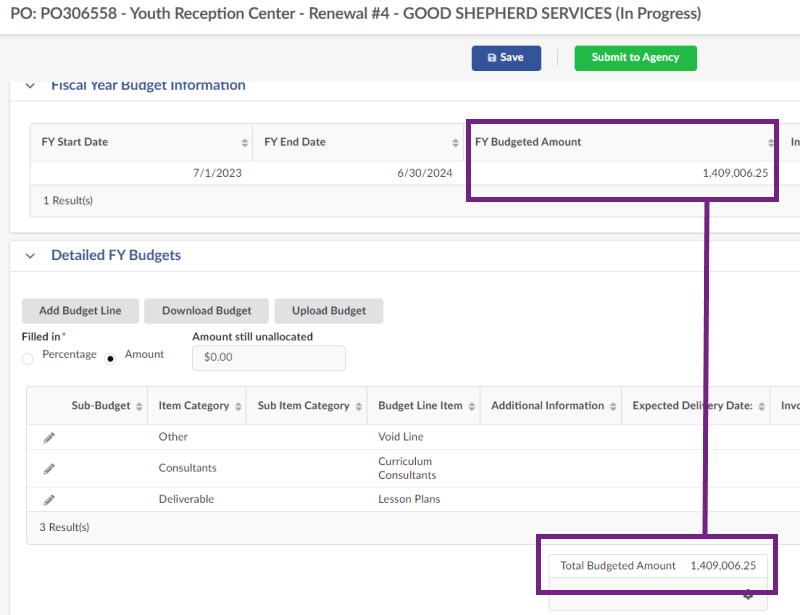
Click the Submit to Agency button near the top of the page to submit the budget for approval.
Any new budget line or cumulative budget modification of over 10% of the fiscal year budgeted amount will require manual review and approval from the agency.
The budget might be returned for review and resubmission.
Once the budget has been approved, invoices can be submitted.
Last updated: April 11, 2024